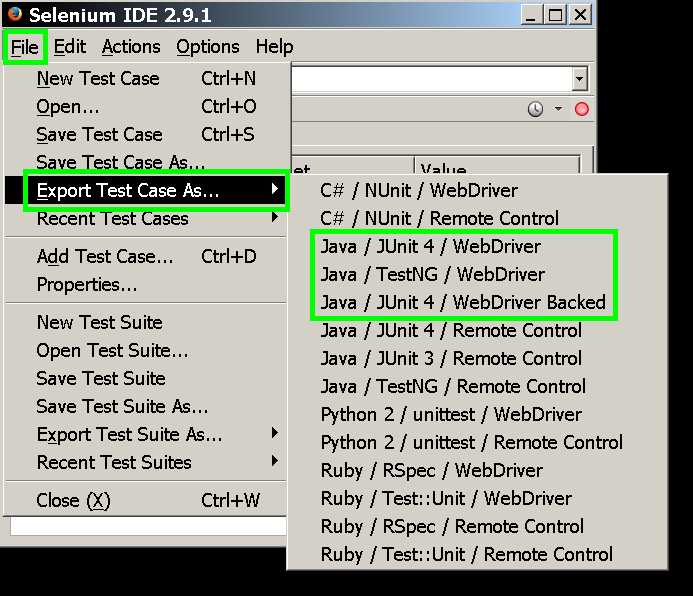
A solution for how to run a WebDriver Java script in E̲c̲l̲i̲p̲s̲e̲ ̲N̲e̲o̲n̲.̲3 that's exported from a S̲e̲l̲e̲n̲i̲u̲m̲ ̲I̲D̲E̲ ̲2̲.̲9̲.̲1 test case is provided below. This approach covers all 3 options for creating such a script from a test case with this Selenium IDE version; the 3 choices are as follows:
Option 1: Java / JUnit 4 / WebDriver
Option 2: Java / TestNG / WebDriver
Option 3: Java / JUnit 4 / WebDriver Backed
Here's the solution:
1. Ensure you have F̲i̲r̲e̲f̲o̲x̲ ̲4̲7̲.̲0̲.̲1 installed on your machine.
2. In Eclipse:
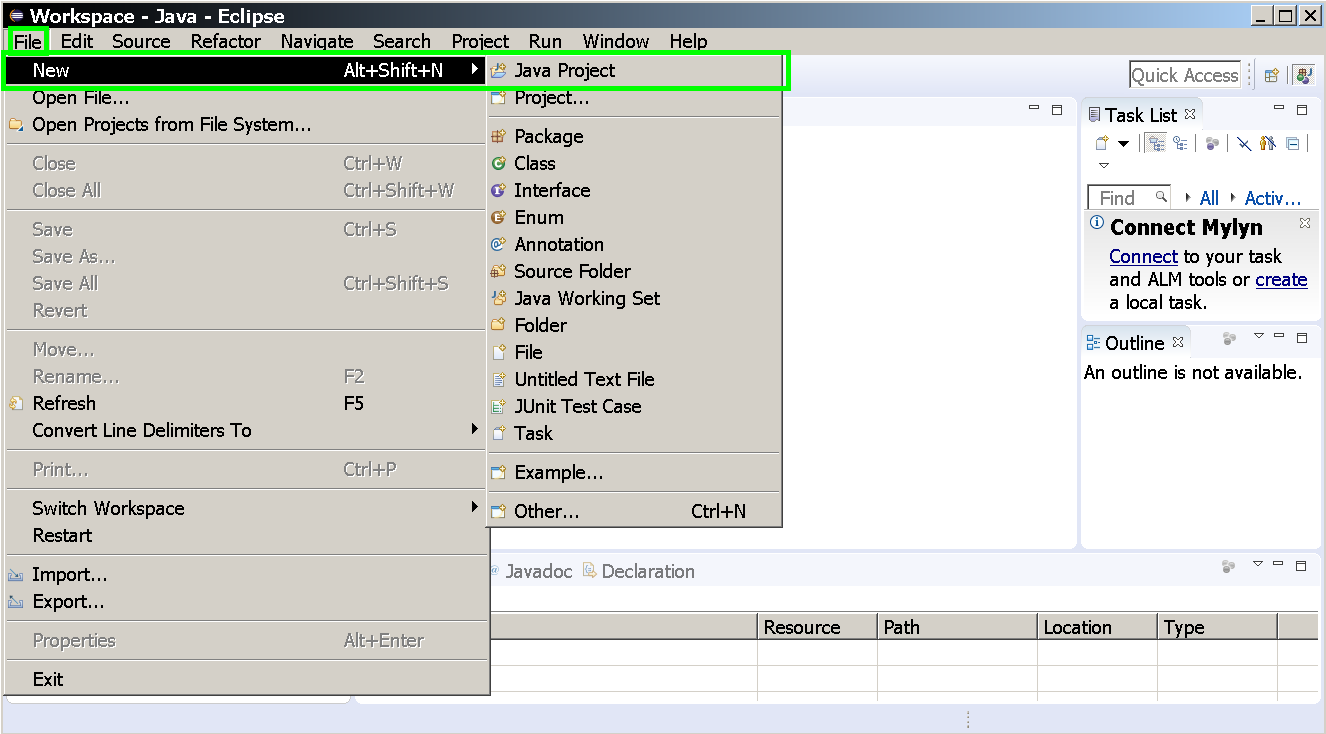
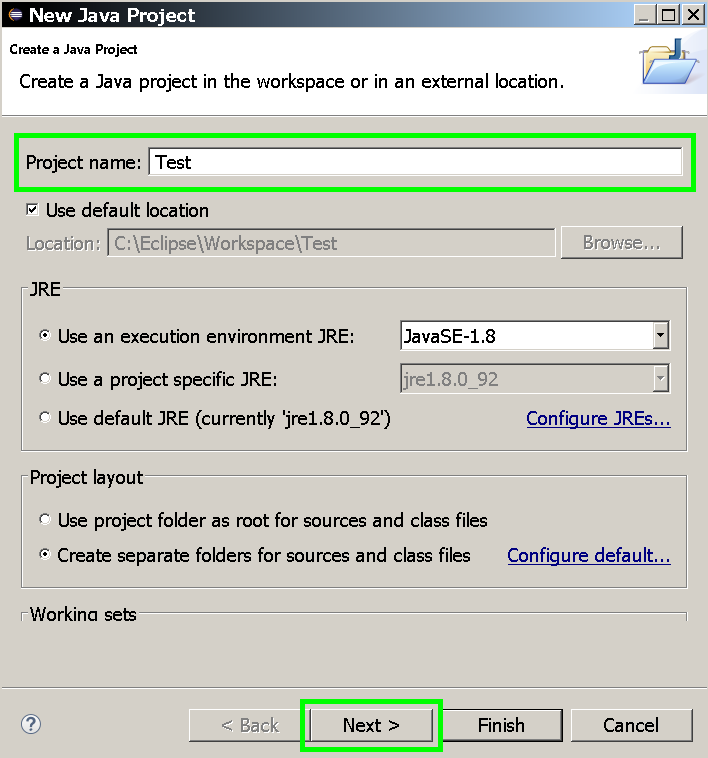
a. Under File, select New > Java Project.
b. Enter a project name in the Project name: text box, then click the Next > button.
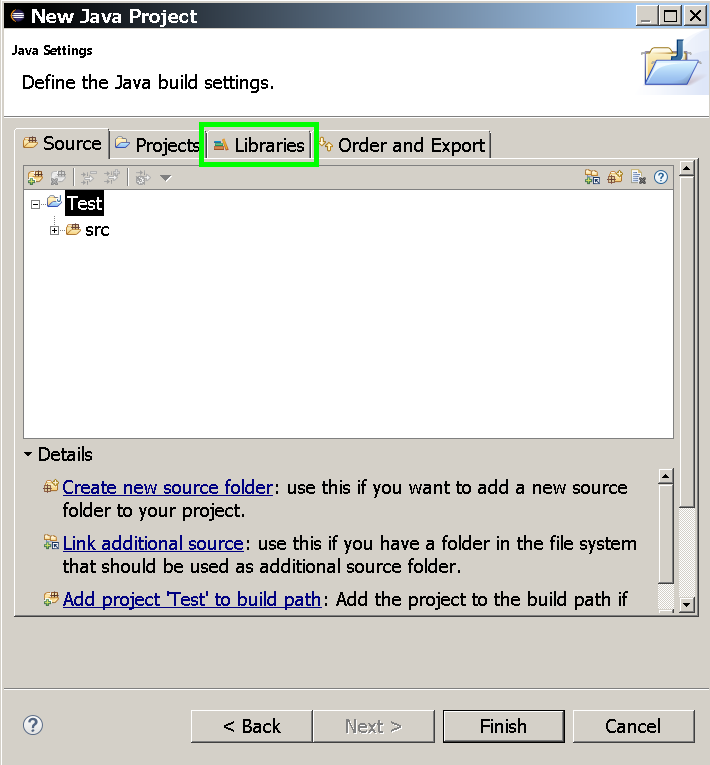
c. Click the Libraries tab.
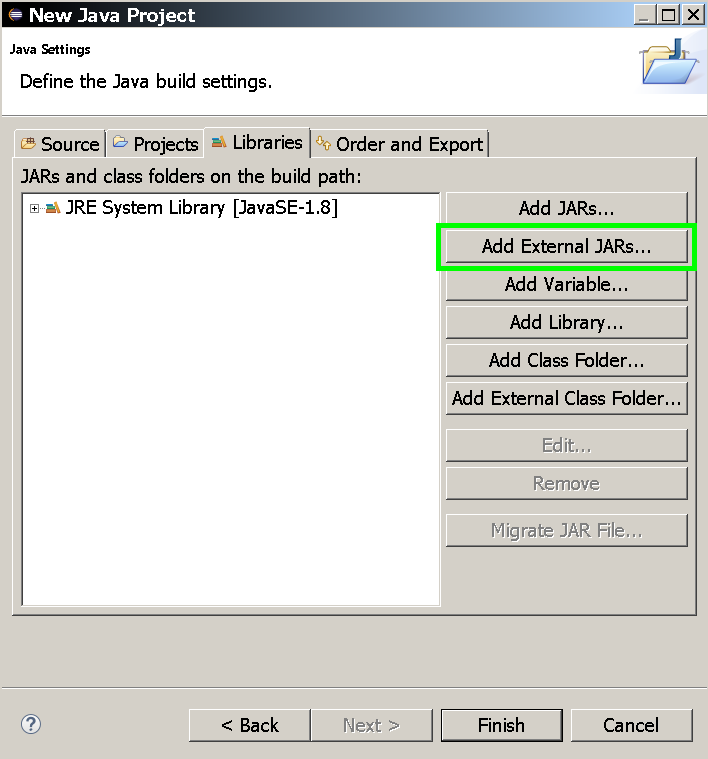
d. Add the following to the build path of your project:
-Each JAR that's in t̲h̲i̲s̲ ̲f̲i̲l̲e̲
-T̲h̲i̲s̲ ̲f̲i̲l̲e̲ (if Option 3 was used)
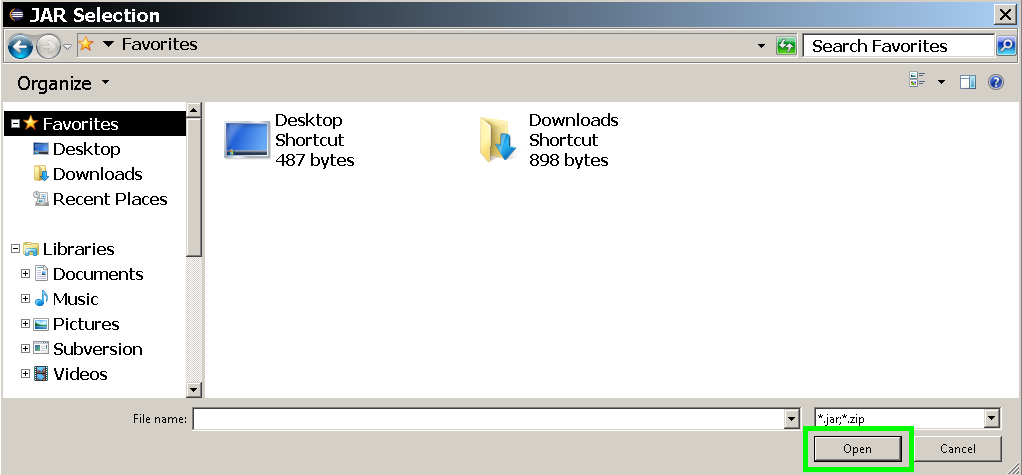
To add JARs to this path, click the Add External JARs... button, then (in the JAR Selection window that pops up as a result) select the JARs and click the Open button.
e. Click the Finish button.
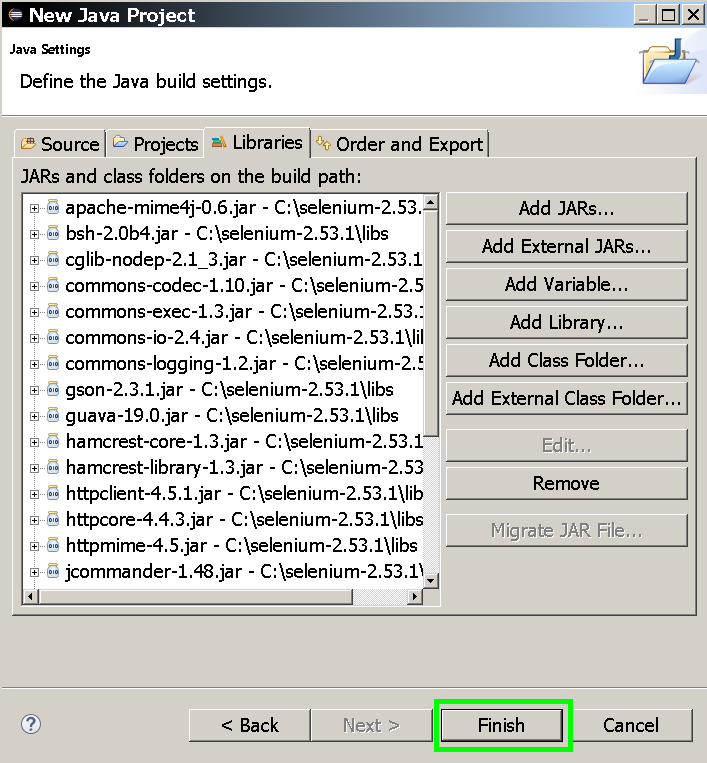
You're now done creating a Java project.
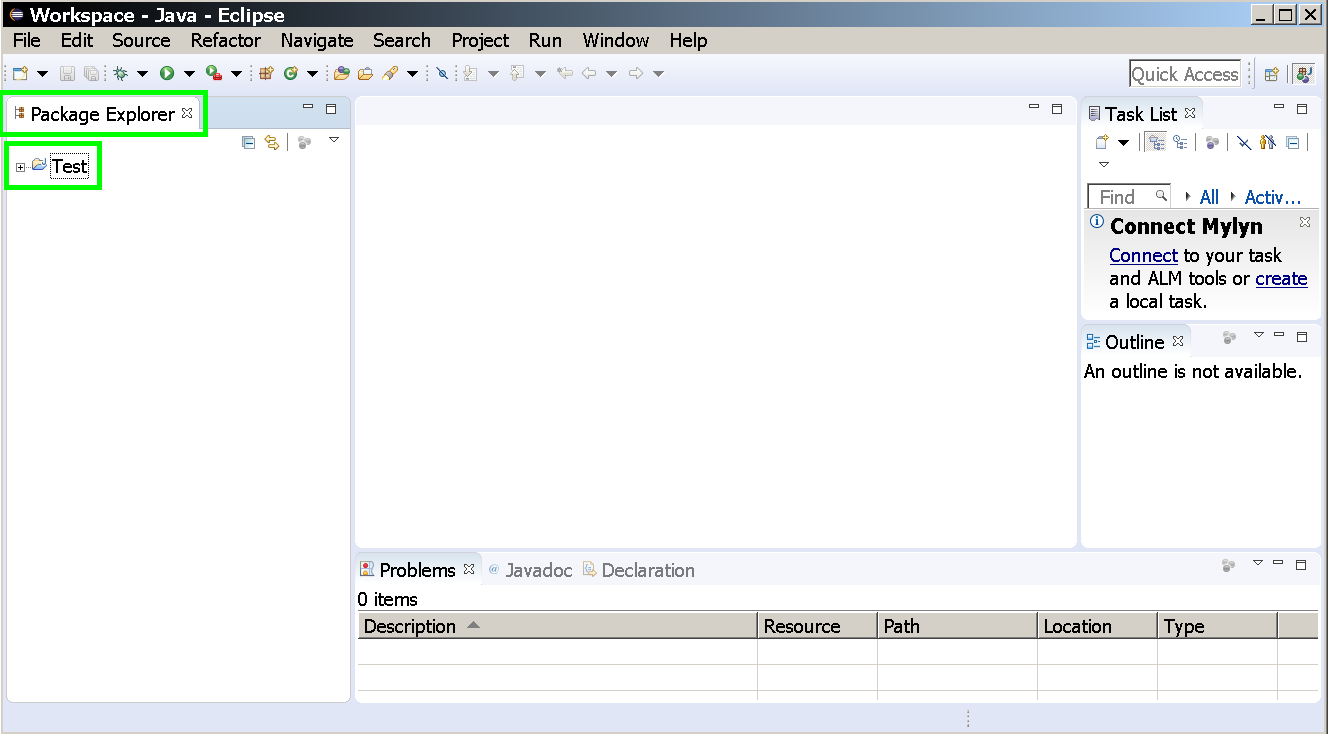
f. Expand the Java project by clicking the plus symbol that's beside it in the Package Explorer pane (in this pane, every entry with a plus sign next to it can be expanded through that sign being clicked).
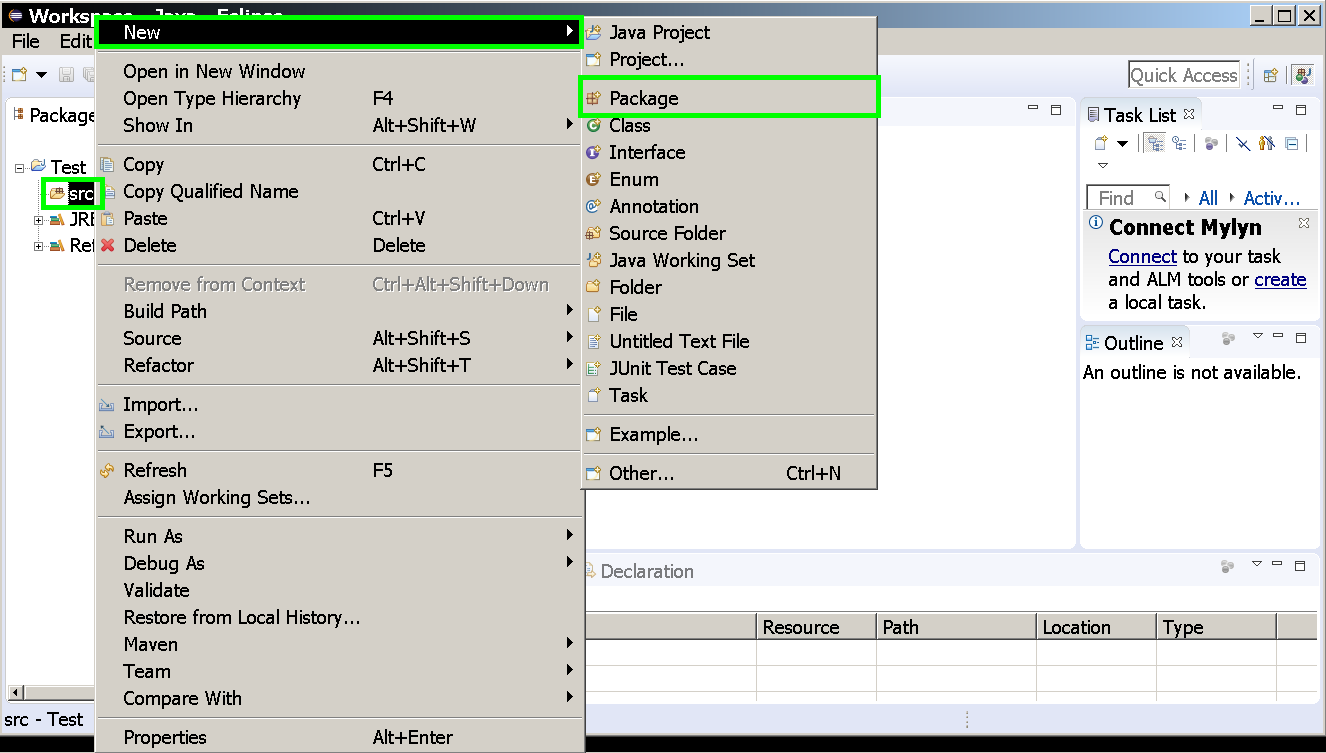
g. Right click the src folder that appears below the project, then select New > Package.
h. Enter a package name in the Name: text box, then click the Finish button.
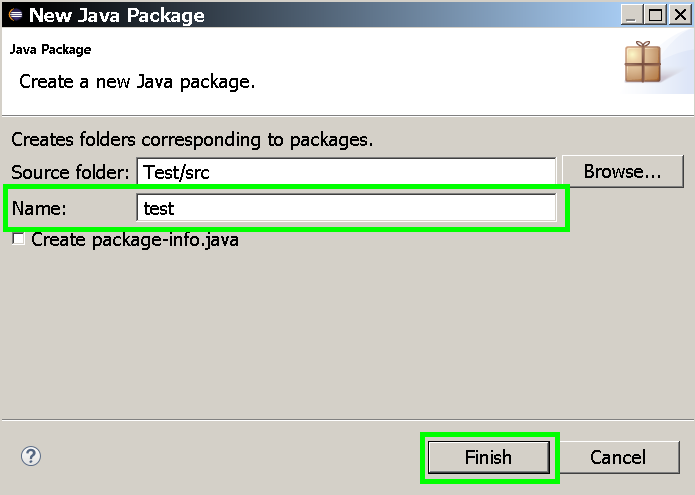
You're now done creating a package that's in the src folder.
i. In the Package Explorer pane, right click the package you just created. Select New > Class.
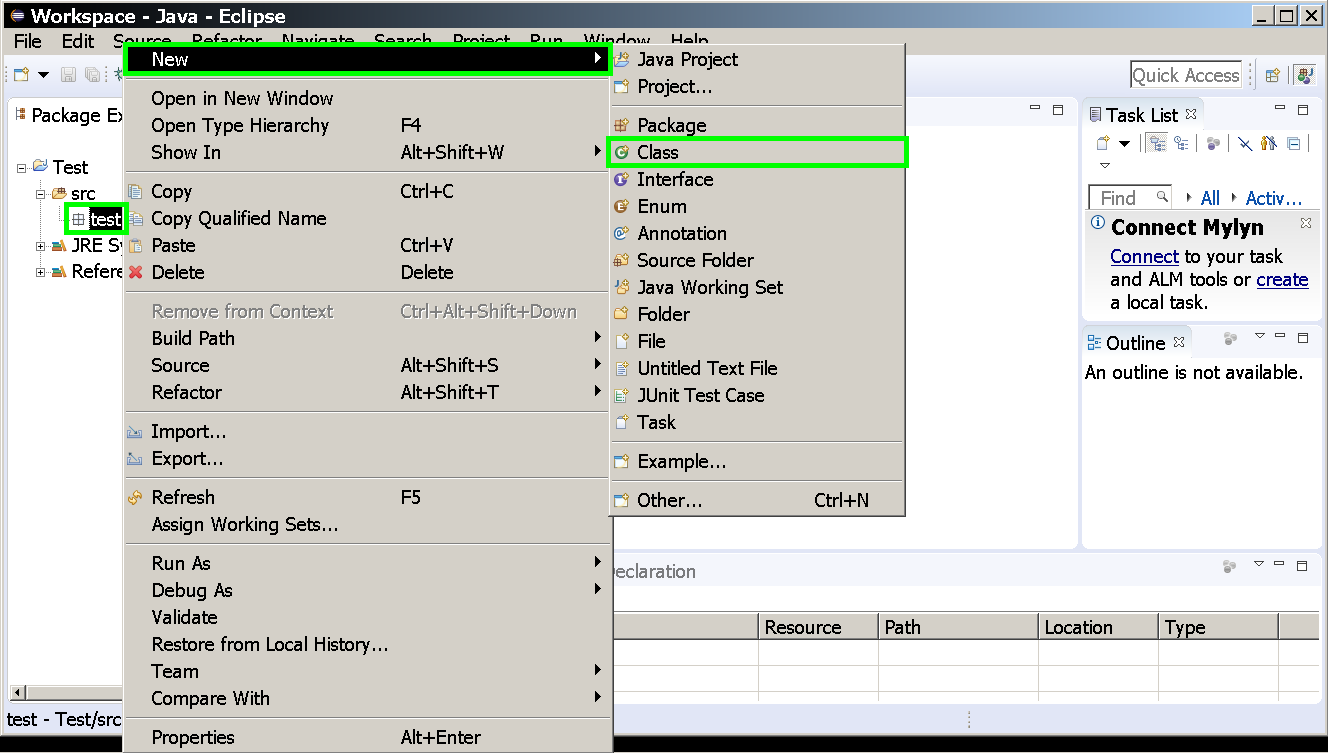
j. In the Name: text box, enter the name (excluding the .java extension) of the .java file that was created as a result of exporting the Selenium IDE test case in question, then click the Finish button.
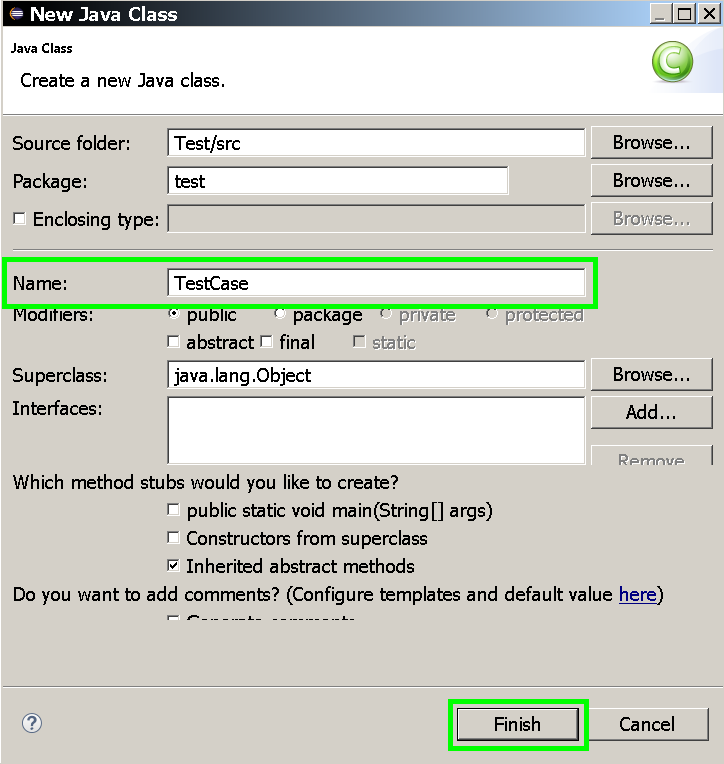
You're now done creating a class that's in the package.
k. Copy all the lines (except for the first two) of the aforementioned .java file that was generated with Selenium IDE. Paste them over lines 3-6 of the class file you finished creating during Step j (let's call this file x).
l. Save x.
m. If Option 2 was used and TestNG is not installed in Eclipse, carry out the following instructions:
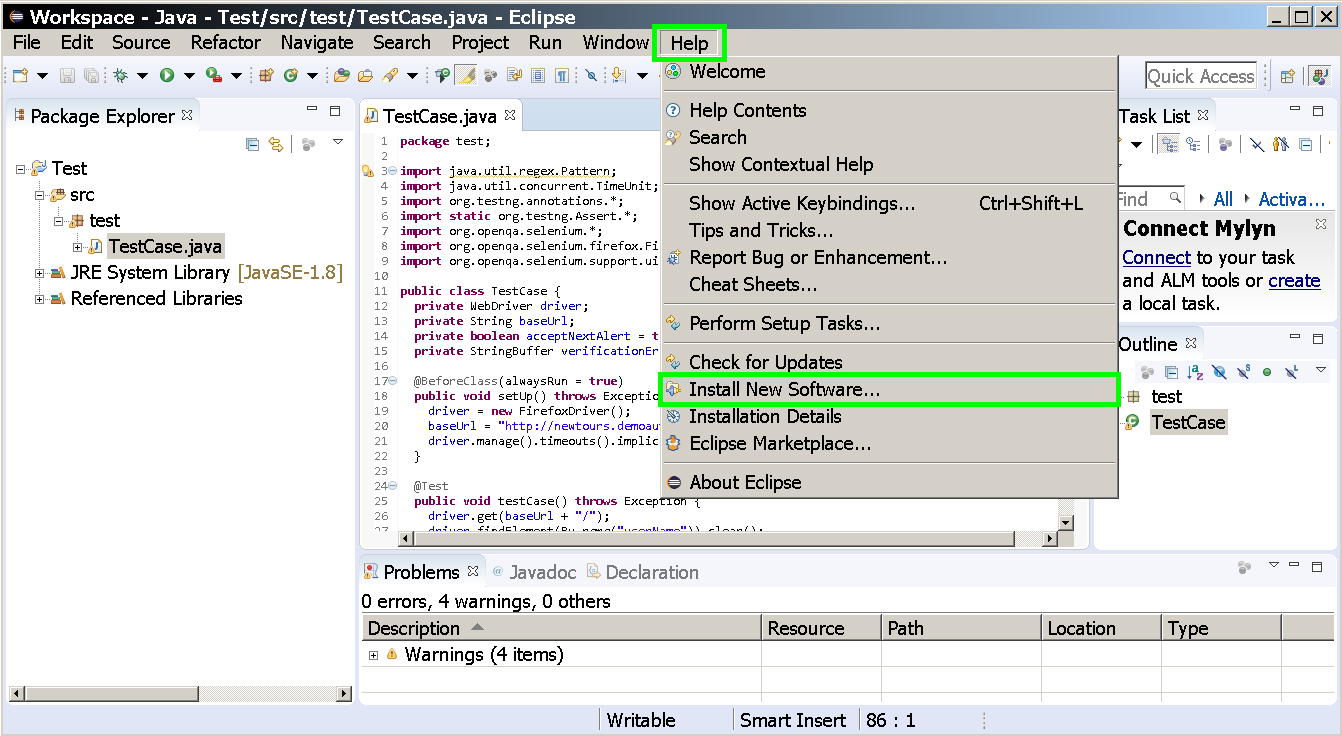
-Select Help > Install New Software...
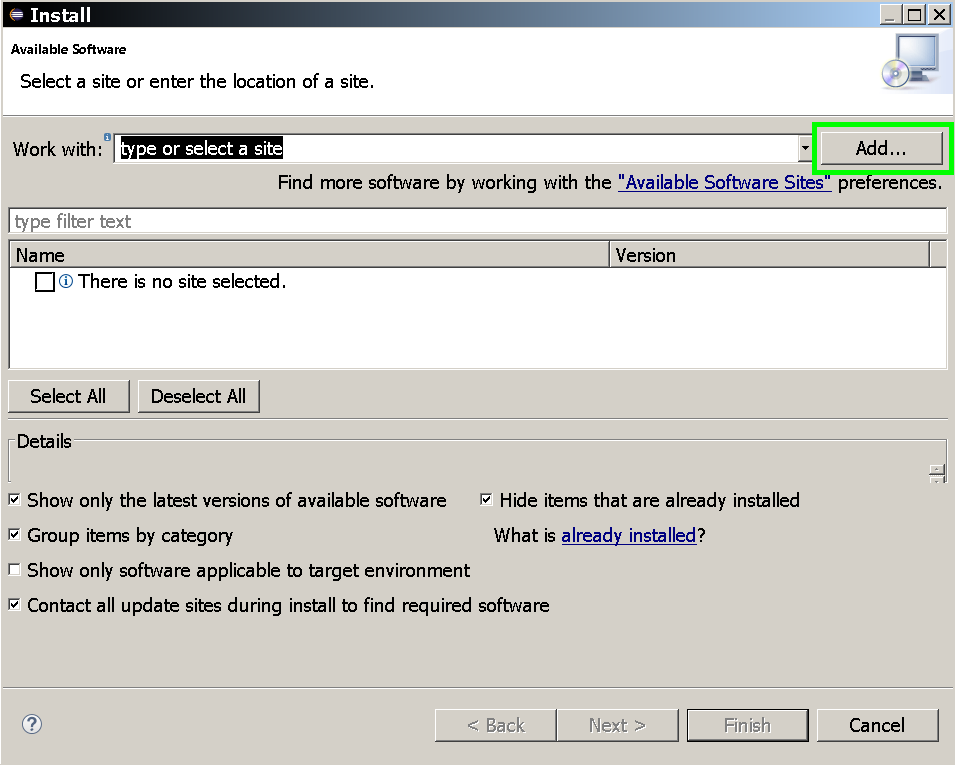
-In the resulting Install window, click the Add... button.
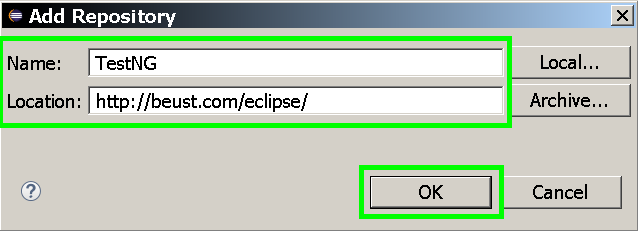
-In the Add Repository window that pops up, enter a name in the Name: text box and http://beust.com/eclipse/ in the Location: text box, then click the OK button.
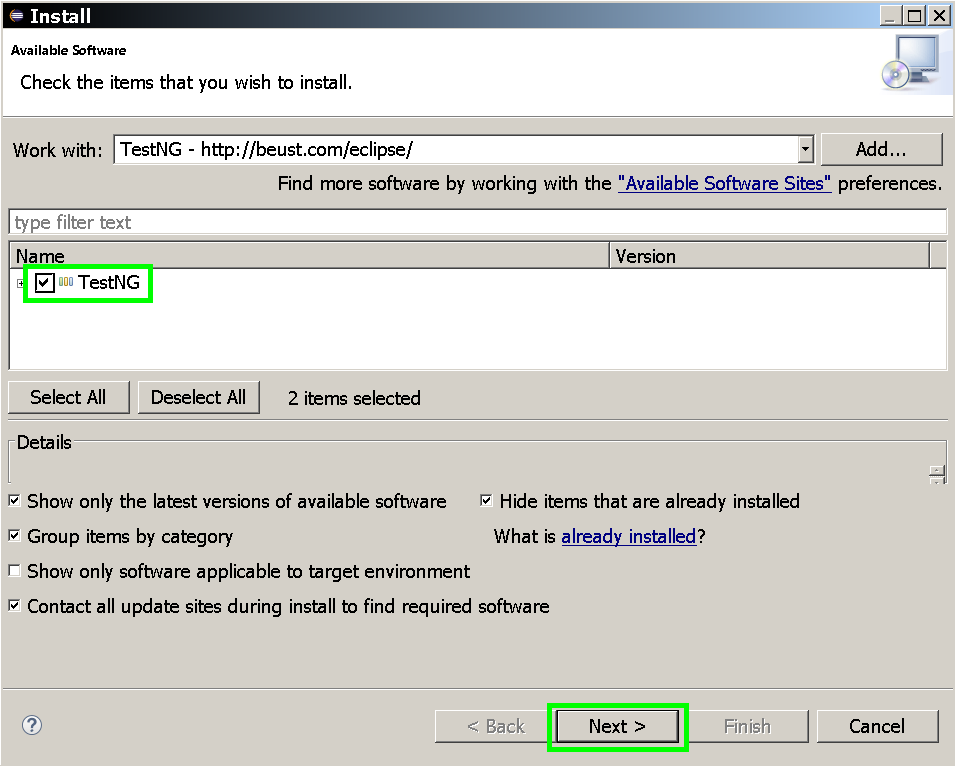
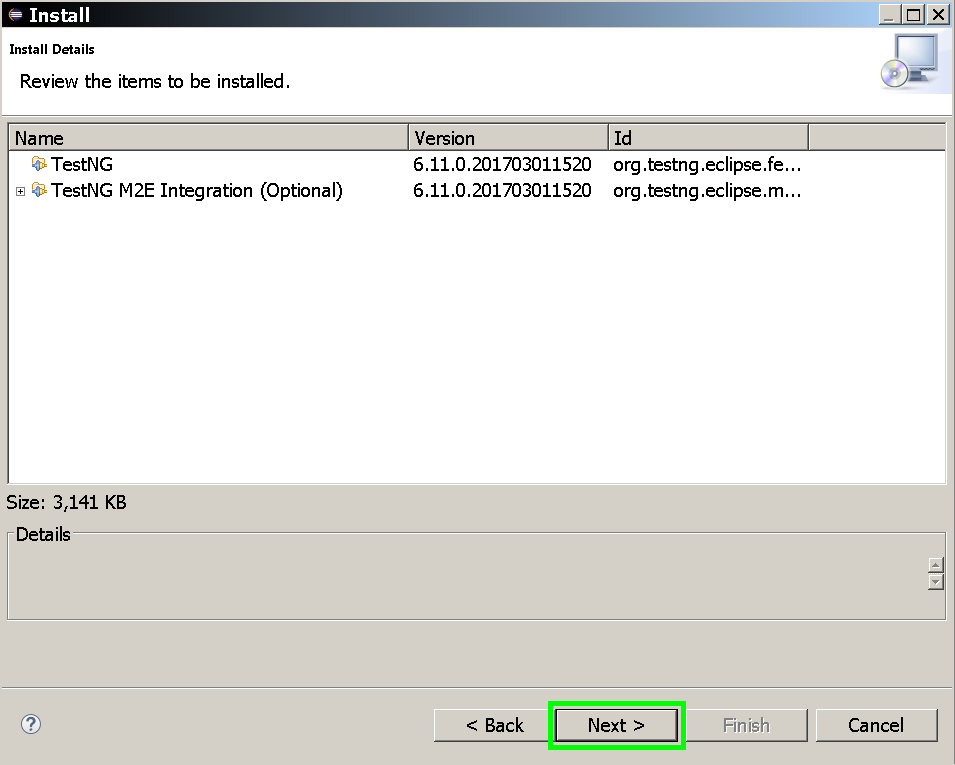
-In the Install window, check the TestNG checkbox in the list of available software then click Next > twice.
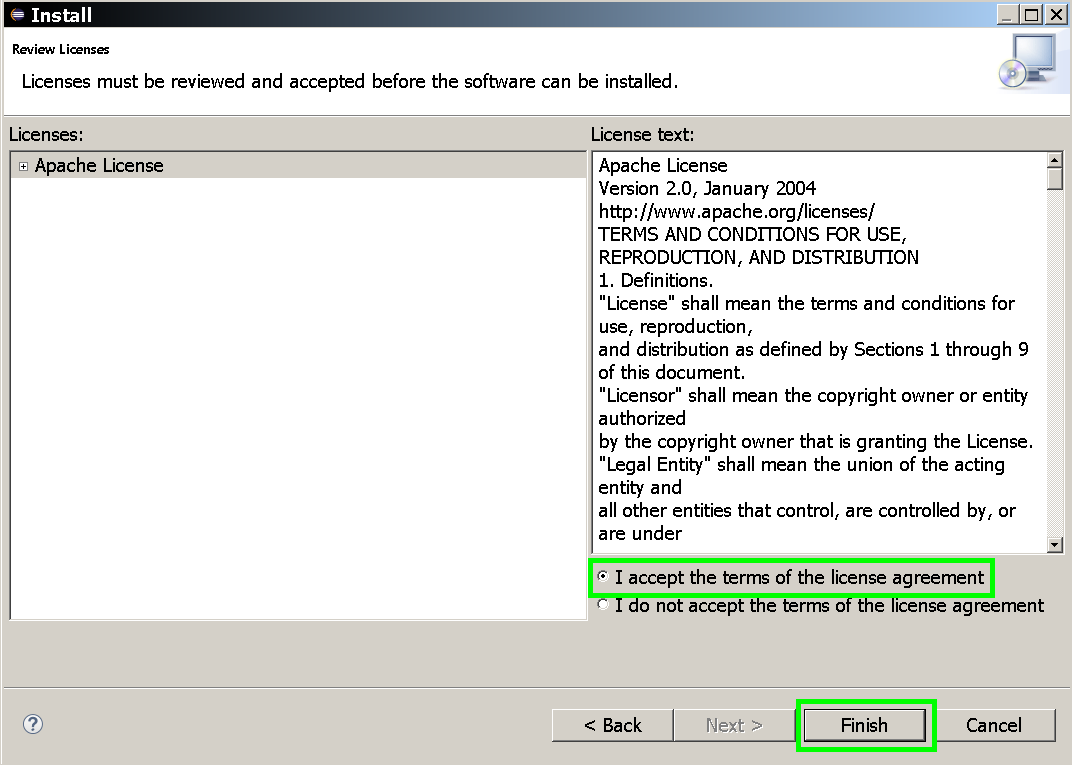
-Select I accept the terms of the license agreement then click the Finish button.
(TestNG will now be installed)
-In case you get a security warning, click the OK button.

-Once the installation is complete, click Yes in the Software Updates window.

(Eclipse will now restart)
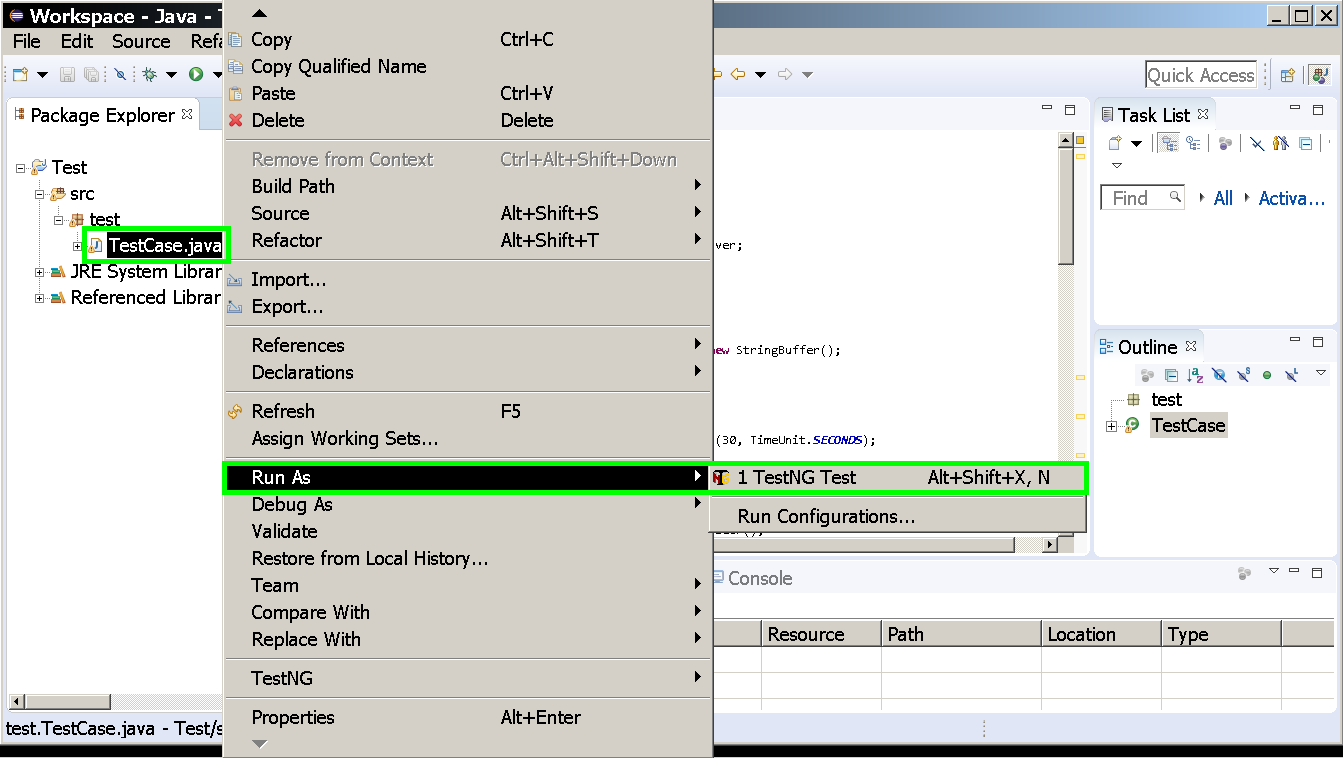
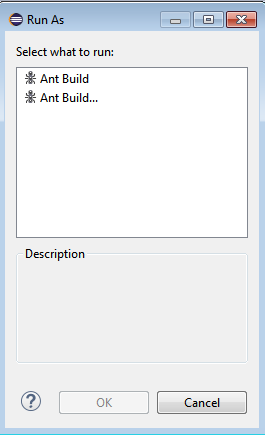
n. To run the WebDriver script, right click x in the Package Explorer pane, then hover over Run As, then click:
-JUnit Test for Options 1 and 3
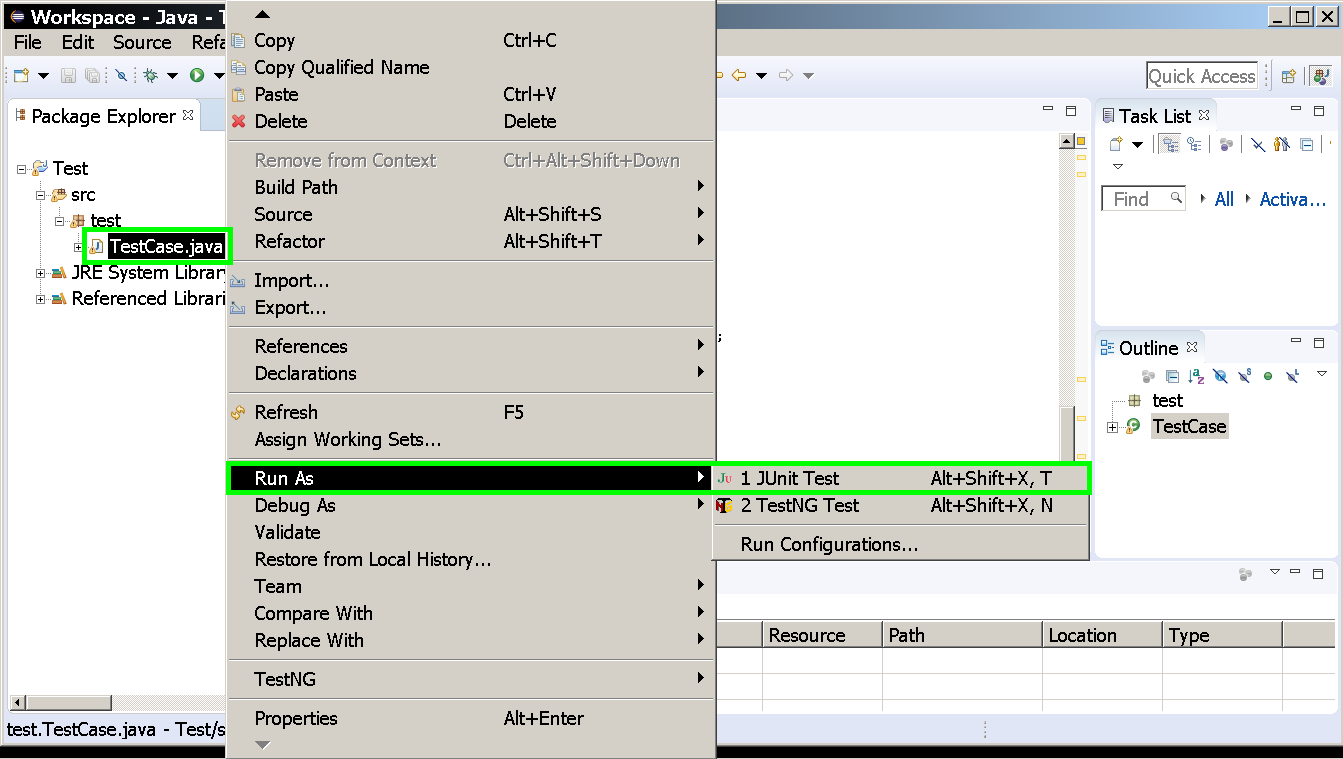
-TestNG Test for Option 2
